AI Coding Tools Installation Guide
Table of Contents
AI Coding Tools Installation Guide
This guide will walk you through installing the mainstream AI coding CLI tools on Windows and macOS, including Claude Code, Codex CLI, Gemini CLI, and Opencode.
Prerequisites
Before installing any AI coding tools, you need to set up the basic environment first.
Node.js
Node.js is the foundation for running these tools and must be installed first.
Installation Steps:
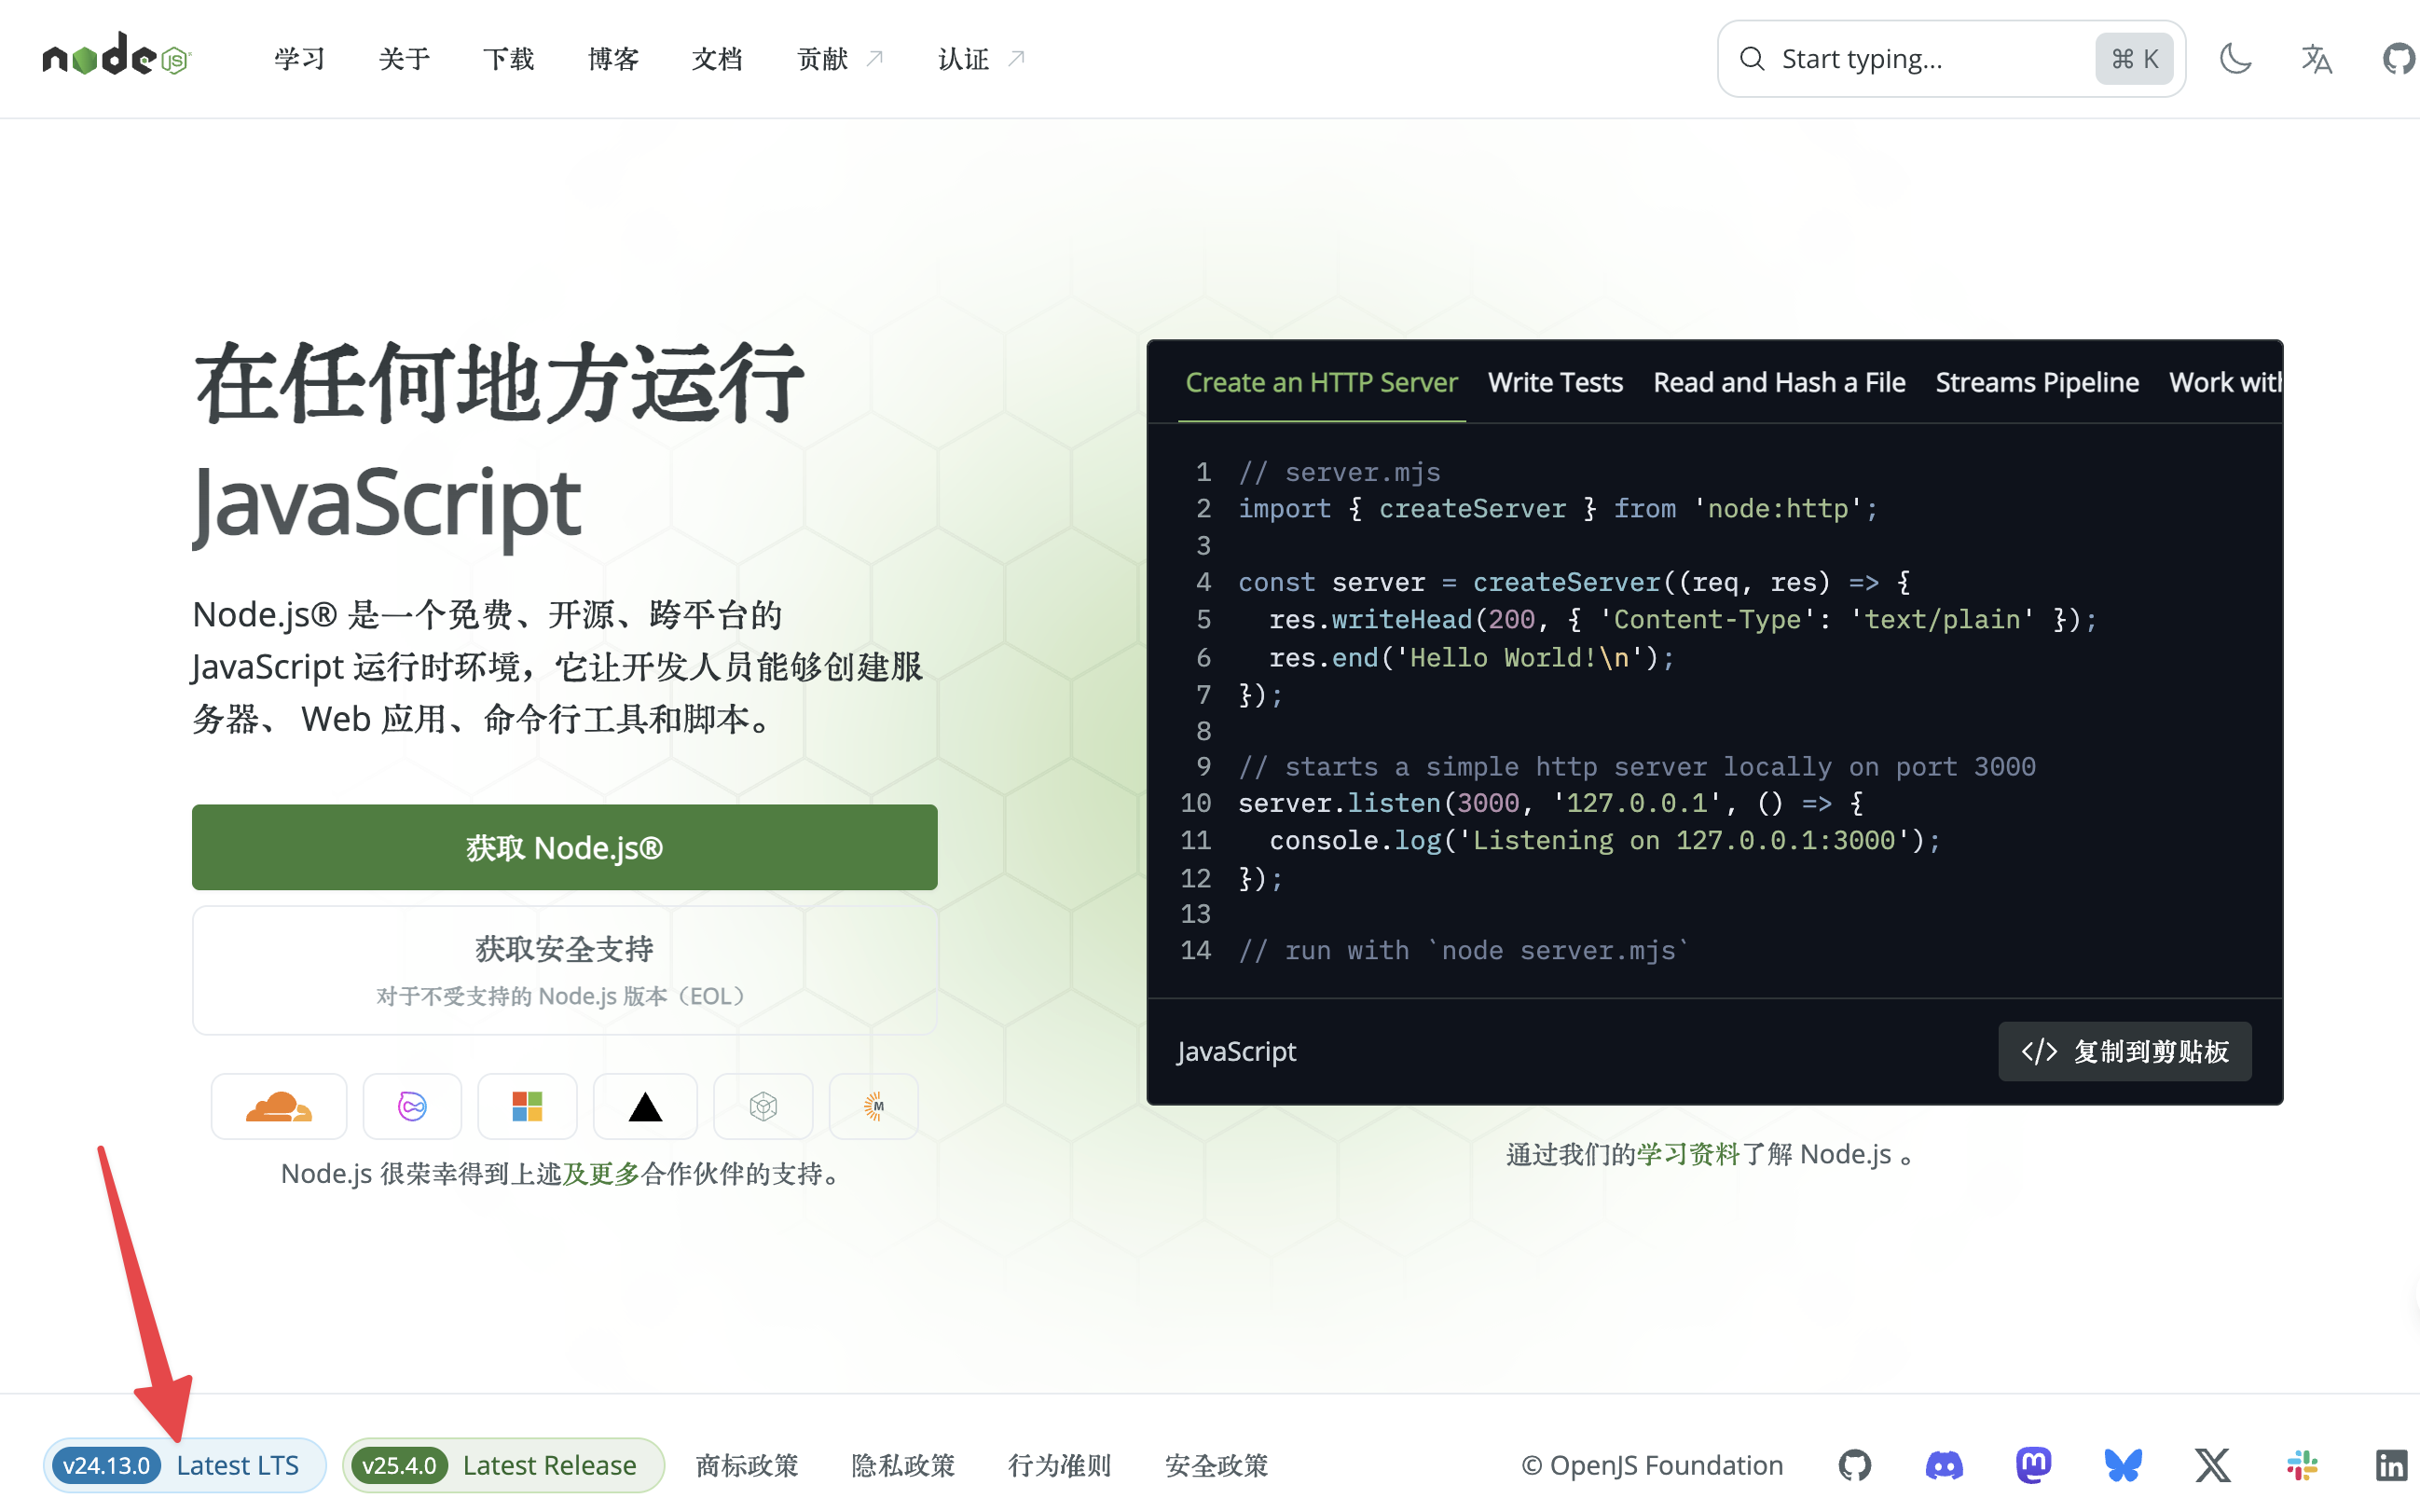
- Open your browser and visit https://nodejs.org/
- Click the LTS version to download (Long Term Support version recommended)
- Double-click the downloaded file after the download completes
- Follow the installation wizard and keep the default settings
[!TIP]
- PowerShell is recommended over CMD
- If you encounter permission issues, try running as administrator
- Some antivirus software may flag false positives — add to whitelist if needed
Click to enter, and download the appropriate installer for your system.
If you don’t know your CPU architecture, open Task Manager to check your CPU model and search online for its architecture.
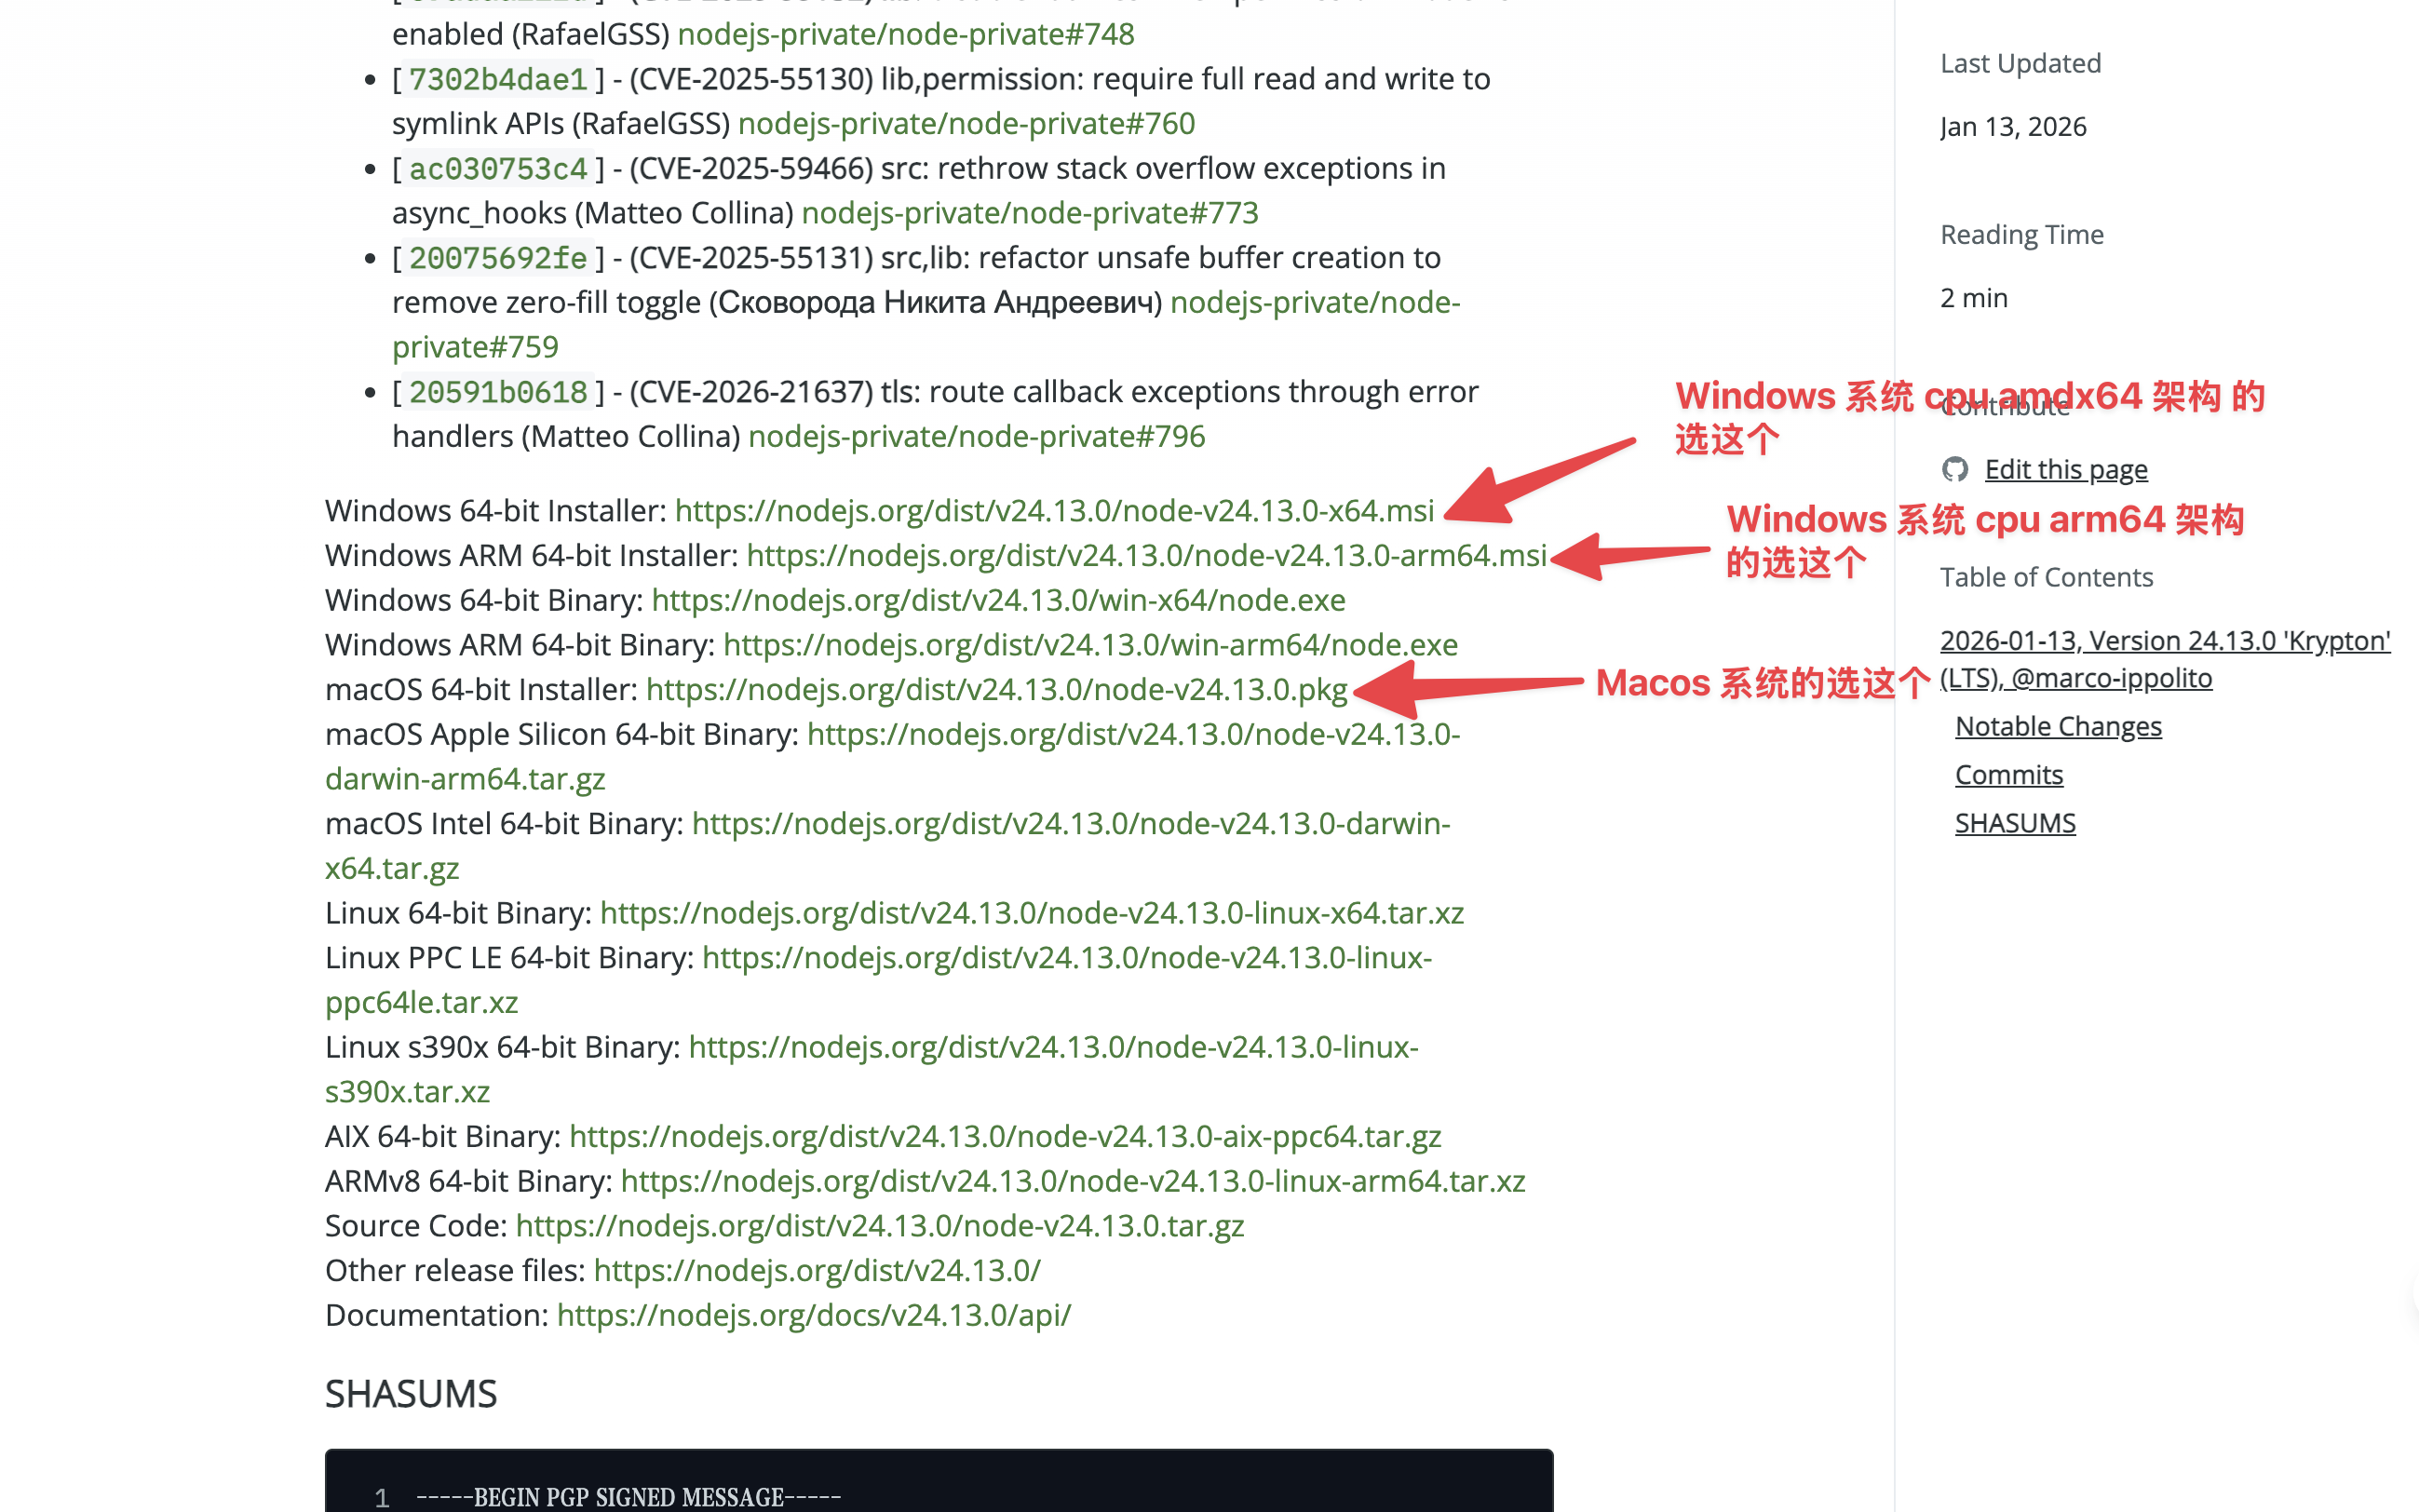
Once downloaded, open the installer and follow the prompts to complete the installation.
Verify Installation:
After installation on Windows, open CMD and run the following commands to verify:
How to open CMD: Press Win + R, type
cmdin the dialog box, then press Enter
node --version
npm --version
If version numbers are displayed, the installation was successful.
Windows Installation
Prerequisite: Git Bash
[!TIP]
On Windows, you need to use Git Bash to install Claude Code. After installation, environment variable setup and using Claude Code can still be done in regular PowerShell or CMD.
Installation Steps:
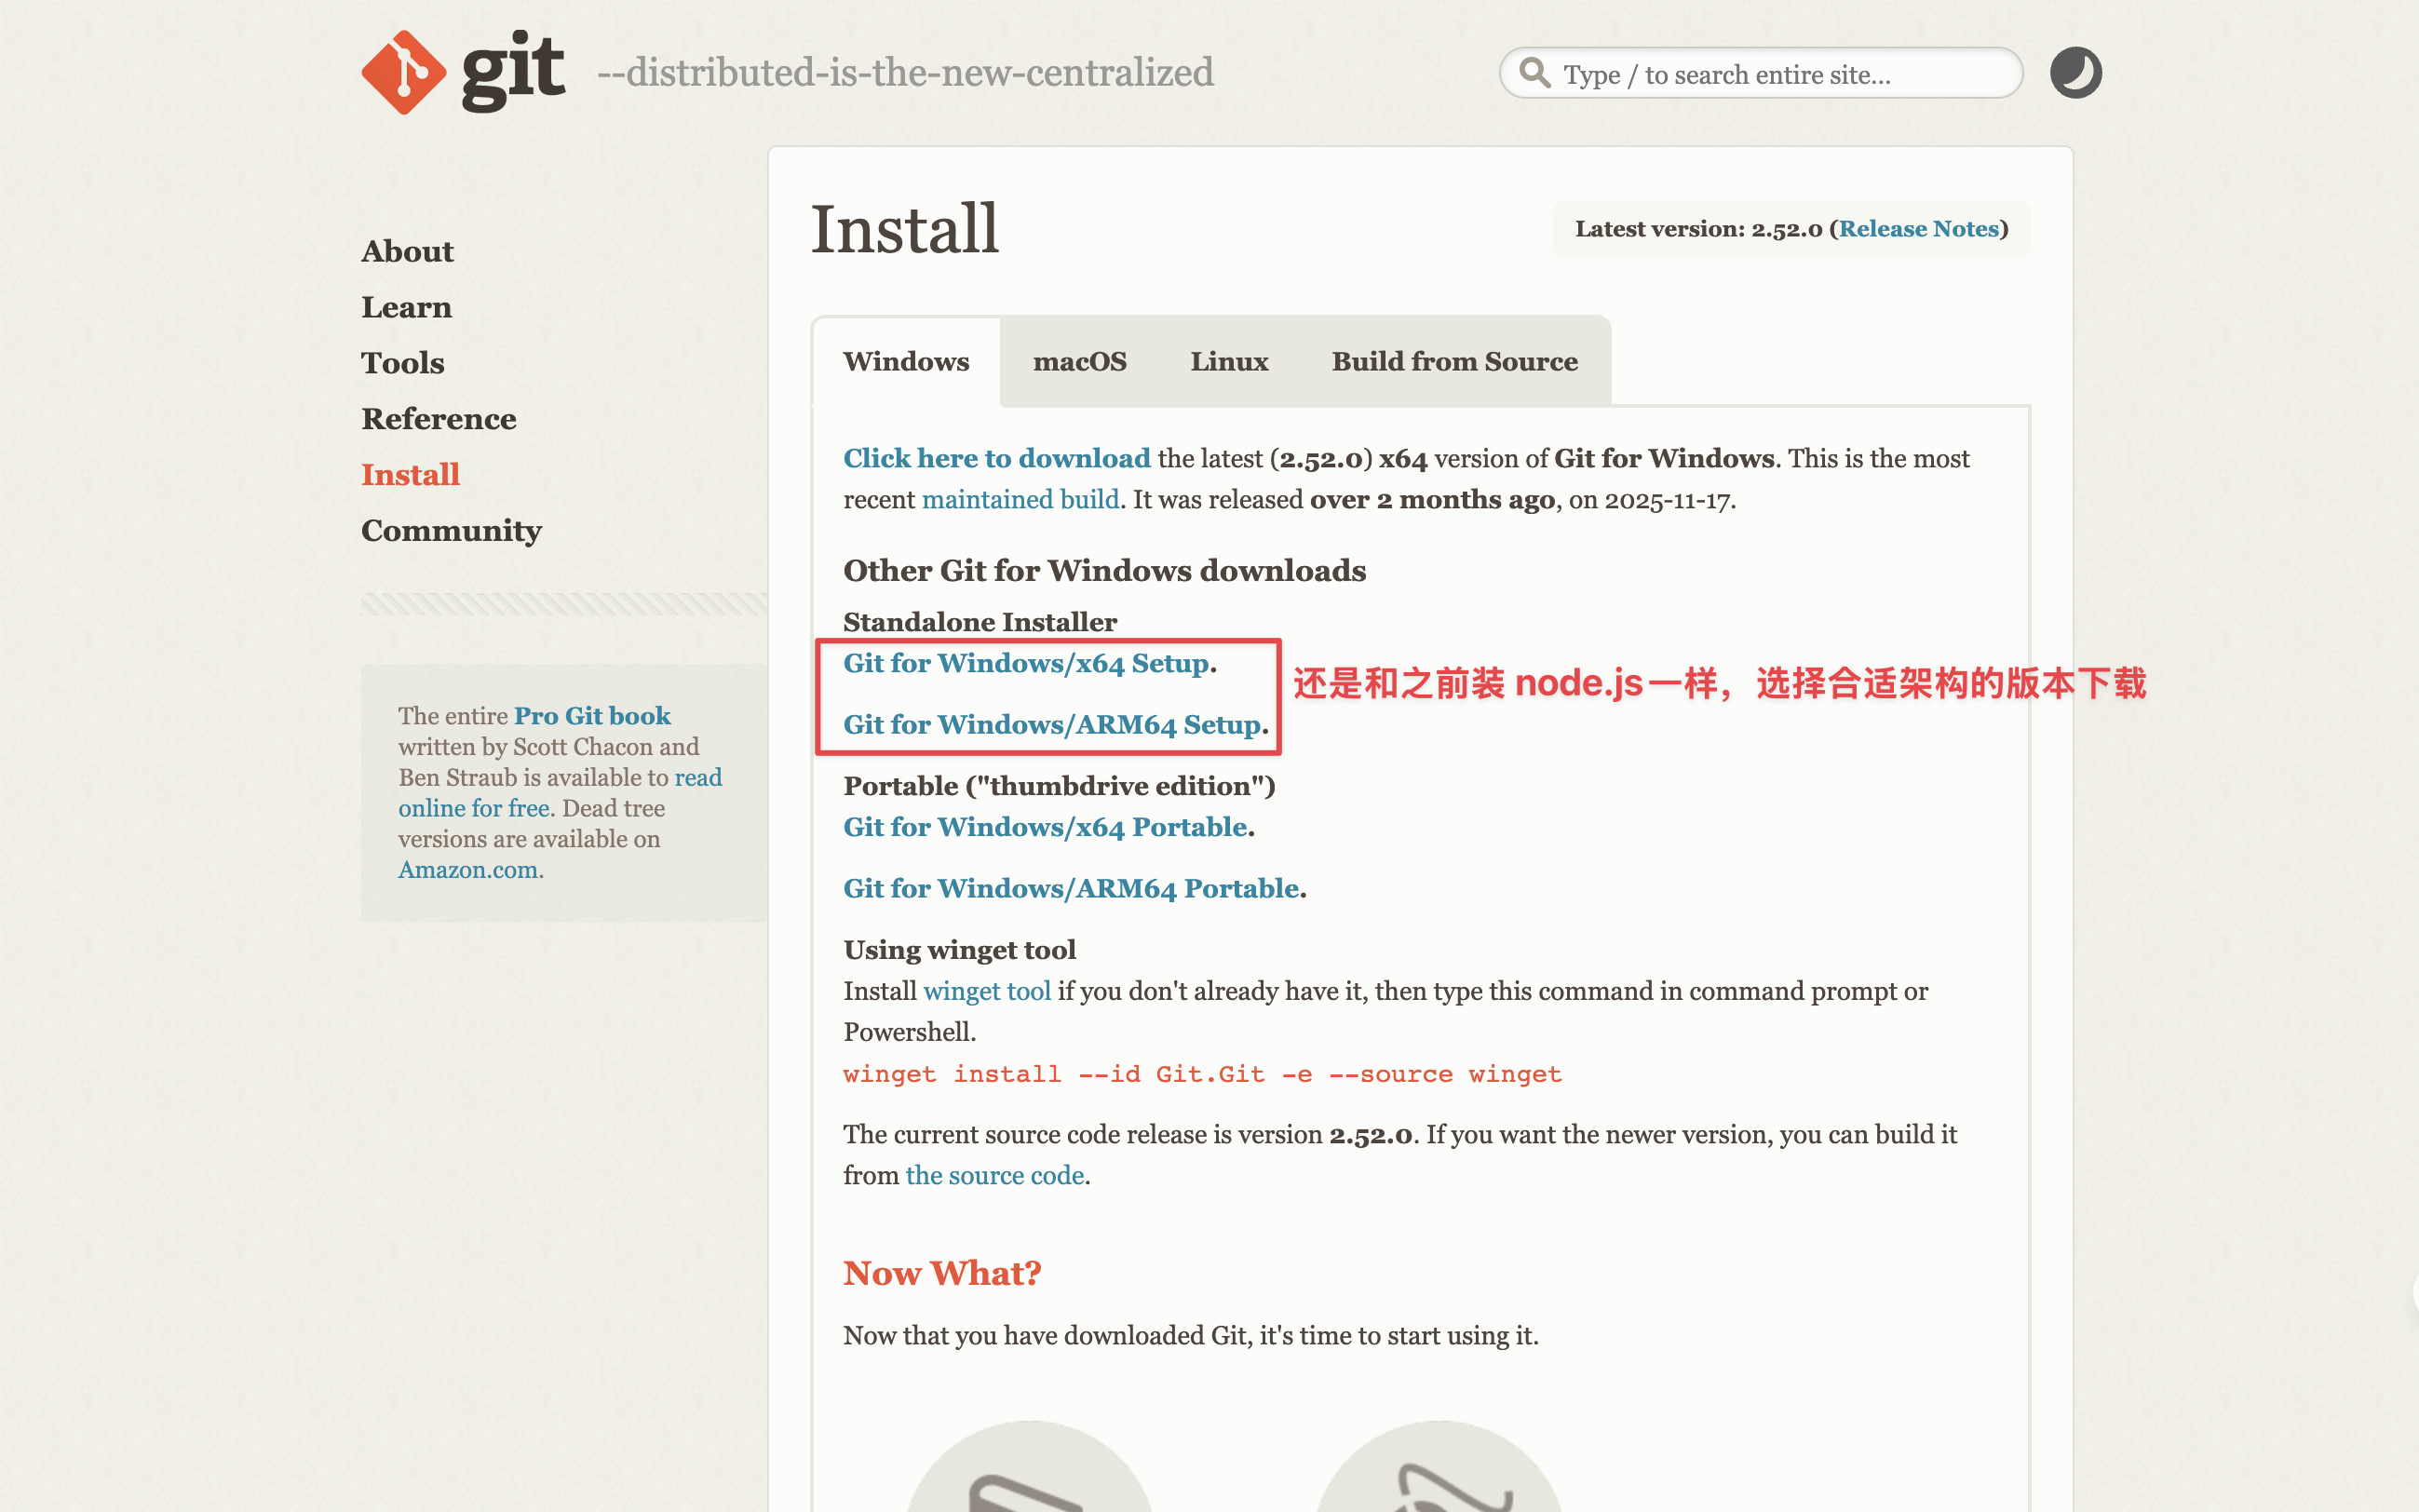
- Visit https://git-scm.com/downloads/win
- Click “Download for Windows” to download the installer
- Run the downloaded
.exefile - Keep the default settings during installation and click “Next” to complete
Verify Installation:
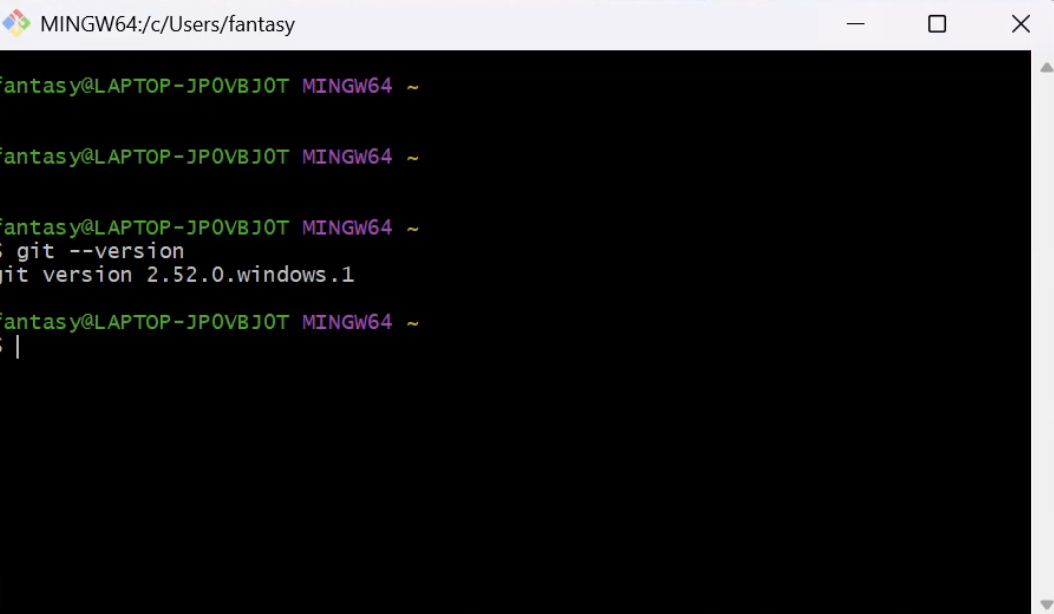
After installation, open Git Bash and run the following command:
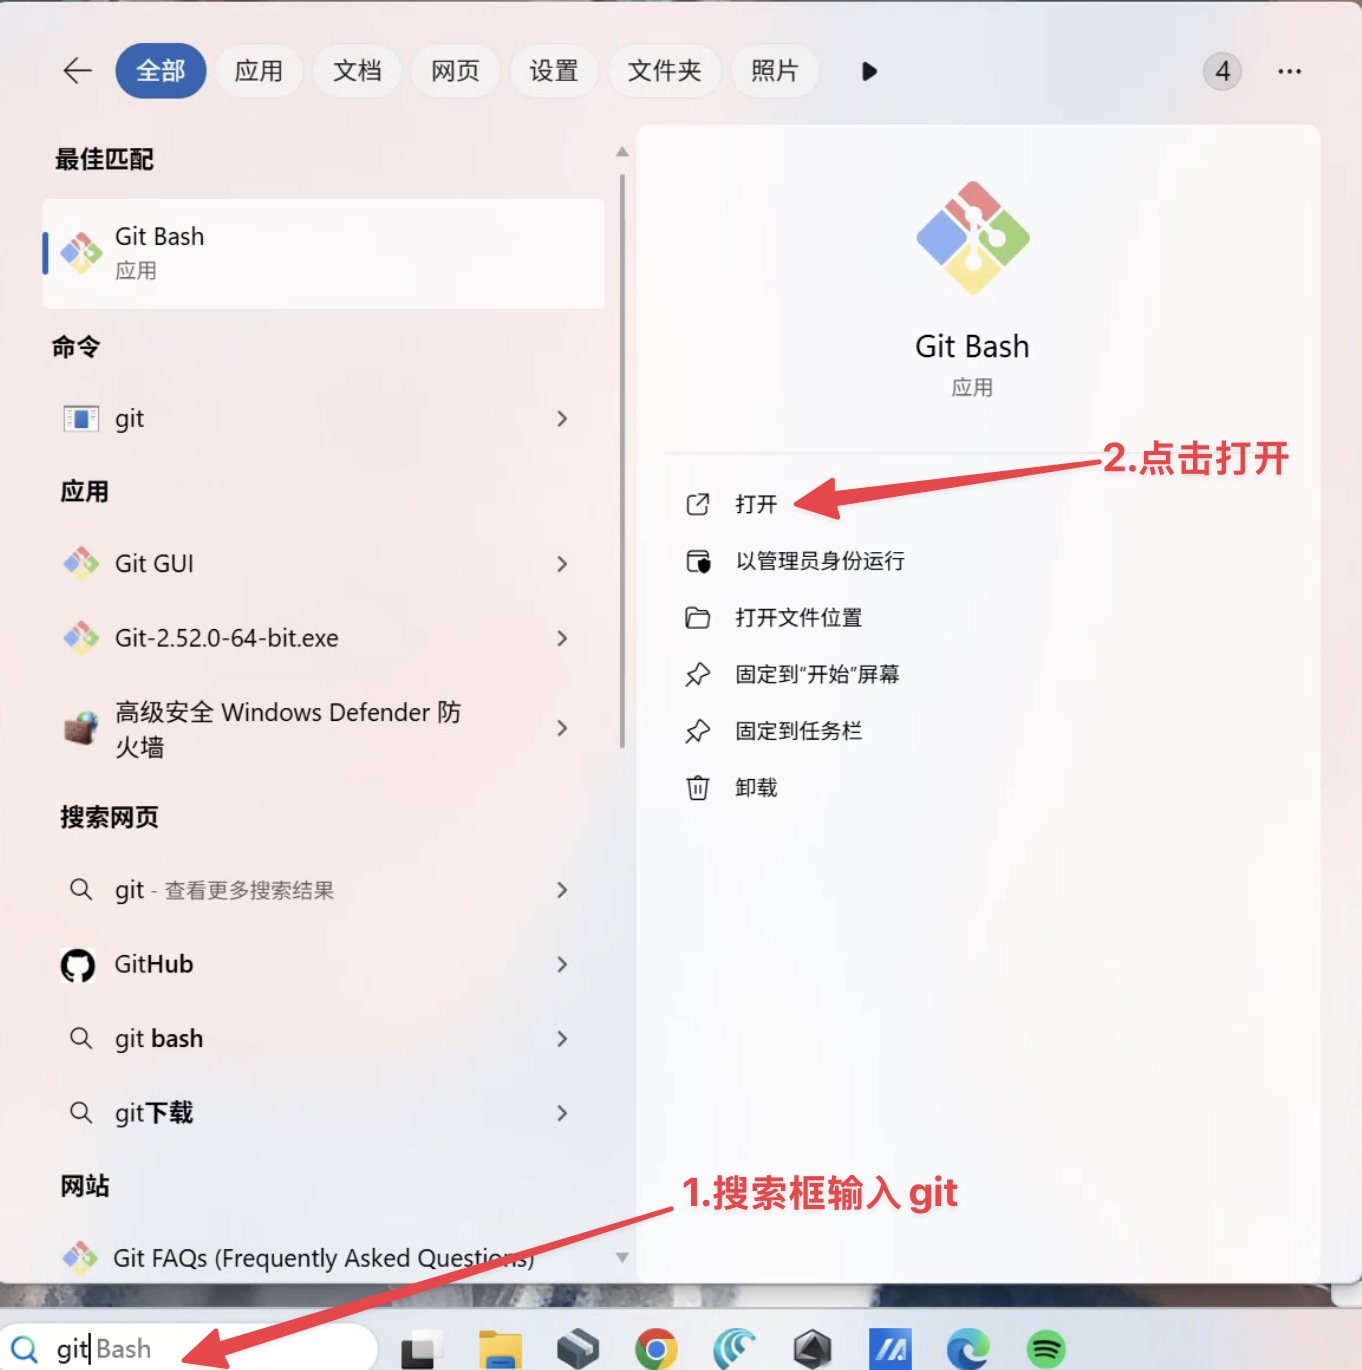
git --versionIf a version number is displayed, the installation was successful.
Claude Code
[!IMPORTANT] Open Git Bash (Important: Do NOT use PowerShell)
Install:
npm install -g @anthropic-ai/claude-codeVerify:
claude --versionIf a version number is displayed, congratulations! Claude Code has been successfully installed.

Codex CLI
[!IMPORTANT] Open Git Bash (Important: Do NOT use PowerShell)
Install:
npm install -g @openai/codexThis command will download and install the latest version of Codex CLI from the official npm registry.
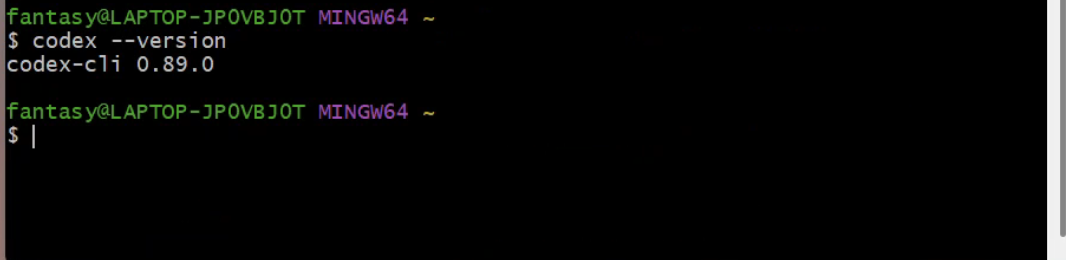
Verify:
codex --versionIf a version number is displayed, congratulations! Codex CLI has been successfully installed.
Gemini CLI
[!IMPORTANT] Open Git Bash (Important: Do NOT use PowerShell)
Install:
npm install -g @google/gemini-cliThis command will download and install the latest version of Gemini CLI from the official npm registry.
Verify:
gemini --versionIf a version number is displayed, congratulations! Gemini CLI has been successfully installed.
Opencode
[!IMPORTANT] Open Git Bash (Important: Do NOT use PowerShell)
Install:
npm i -g opencode-aiThis command will download and install the latest version of Opencode from the official npm registry.
Verify:
opencode --versionIf a version number is displayed, congratulations! Opencode has been successfully installed.
macOS Installation
Open Terminal. All the following steps will be performed in Terminal.
If you find the built-in Terminal unappealing or lacking features, consider installing Ghostty.
Claude Code
Install:
brew install --cask claude-codeGetting Started:
cd your-project
# Navigate to your project directory, replace your-project with your actual project path

claude
# Launch Claude Code
Codex
Install:
brew install codexGetting Started:
cd your-project
# Navigate to your project directory, replace your-project with your actual project path

codex
# Launch Codex
Gemini CLI
Install:
brew install gemini-cliGetting Started:
cd your-project
# Navigate to your project directory, replace your-project with your actual project path

gemini
# Launch Gemini
Opencode
Install:
brew install anomalyco/tap/opencodeGetting Started:
cd your-project
# Navigate to your project directory, replace your-project with your actual project path

opencode
# Launch Opencode
Code Editor Recommendations
After installing the CLI tools, you’ll need a code editor to work with them.
VS Code
Visual Studio Code (VS Code) is a free, lightweight, cross-platform open-source code editor developed by Microsoft. With support for multiple programming languages, built-in Git version control, intelligent code completion (IntelliSense), debugging capabilities, and a rich plugin ecosystem, it has become the go-to tool for modern development, available on Windows, macOS, and Linux.
Official Website: https://code.visualstudio.com/
Cursor
Cursor is a fork of VS Code. This allows us focus on making the best way to code with AI, while offering a familiar text editing experience.
Cursor is a fork of VS Code that focuses on enhancing the coding experience with AI while providing a familiar text editing interface.
- Official Website: https://www.cursor.com/
- Download: Homepage
- Documentation: https://docs.cursor.com/
Zed
Zed is a next-generation high-performance, real-time collaborative code editor built with Rust by the core teams behind Atom and Tree-sitter. Powered by a GPU-accelerated GUI engine (gpui), it delivers an editing experience at “the speed of thought,” focusing on extreme local performance, intelligent AI integration, and modern workflows — perfect for developers who crave a cutting-edge experience.
Official Website: https://zed.dev/
Antigravity
This is an AI development tool launched by Google in late 2025 to early 2026.
Official Website: https://antigravity.google/